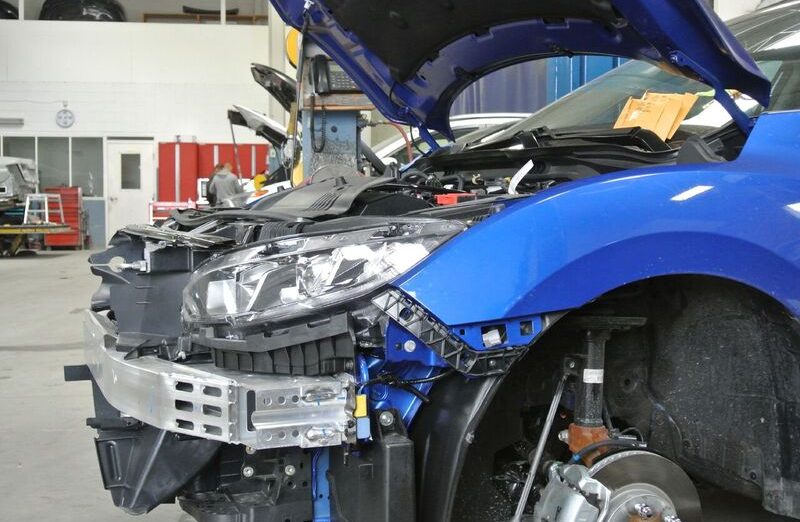
It may not seem obvious at first, but the adjustment on your headlights might be all wrong. How do you know for sure? Among obvious signs that your headlamps aren’t properly aimed are oncoming drivers flashing their lights at you because your lights are blinding them even without your high beams turned on, or the road ahead is brightly illuminated for only 20 feet or so, meaning the headlights are aimed too low. Proper alignment is important when installing new headlights. Each headlight must be securely mounted and properly aimed so the beam pattern “cut off line” complies with all applicable regulations. It is recommended that headlights are aimed with a headlight aiming system for proper alignment. If you are not familiar with the legal requirements for aiming your headlights, please see a professional service provider.
When your headlights aren’t shining in the right direction, you know it. It’s tough to see and be seen on the road. Or you’re inadvertently blinding other drivers, which isn’t very neighborly of you. Headlight alignment can change after an accident, when new lights are installed, and as driving miles accumulate. Checking and aligning headlights only requires a couple tools, and is a straightforward fix. It is recommended to kill two birds with one stone by changing headlight bulbs at the same time. Here is how you adjust the headlights:
1. Check under the hood to see if your lights have levels. If they do you just need to align them if they are out of alignment.
2. Remove all contents from your car or at least anything throwing the vehicle off-balance, like junk in the trunk, passengers, and any excess baggage in the backseat.
3. If your driveway is not flat, find a family member or friend, preferably with a flat 25-foot driveway and a garage, who does not mind if you borrow theirs for a few minutes.
4. Gather tape and necessary tools.
Suspension problems or a heavy cargo load can change your vehicle’s ride height and shift one or both headlights subtly. A collision or hitting a road hazard also can move a light assembly and misalign your lights. One way to tell if headlights are correctly aimed is to park the vehicle on a level surface and shine the headlights on a garage door or wall 25 feet ahead (some cars may require a different distance). The top of the low beam shining on the wall should be at or slightly below the height of the center of the headlight lens for most vehicles. You should expect the light pattern to be higher on the right side (passenger side) to illuminate road signs and lower on the driver’s side to prevent blinding other drivers. This should give you a good idea of whether the beams on both sides are aimed correctly.
Another method is to pull the vehicle within 5 feet of the wall and then use masking tape to mark the vertical and horizontal centers of the light beams on the wall. Move the vehicle back 25 feet. With the aid of the tape line, the light beams should be roughly the same height vertically and horizontally. Vehicles have an adjustment screw or bolt on the headlight assembly for adjusting headlight height, and some also have a screw for horizontal aim. Some vehicles also have a bubble level to help with adjustments.
On some vehicles, you might have little or no space to reach the adjusters without removing parts, such as the battery. Additionally, to get an accurate reading, the vehicle should be on truly level ground, the ride height shouldn’t be affected by damaged suspension parts, flat tires or cargo, and the vehicle needs to be perpendicular to the surface on which you’re shining the headlights. Many vehicle owner’s manuals give little or no guidance on headlight aiming. When in doubt, ask a repair shop to check. If a vehicle is still covered by the basic warranty, a dealership may check the headlight aim and align it at no cost.s


